
Post actualizado el día octubre 27, 2026 by DeiviSanzPlay
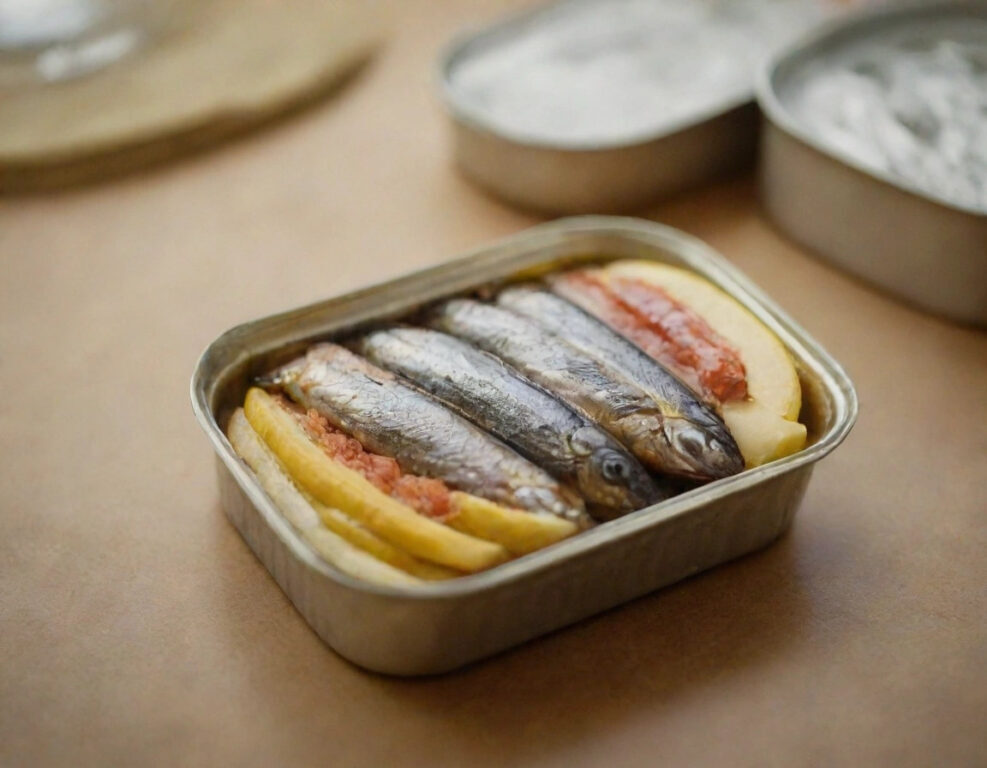
I stopped buying those little jars of anchovies at the supermarket the moment I understood what actually goes into them. Not because they’re terrible, but because making anchovies in olive oil at home is so absurdly simple that paying premium prices for a tiny glass jar feels like a scam.
Two ingredients. Salt and fresh fish. That’s it. Plus time, which is the only thing nobody wants to give. I’m going to walk you through the whole process the way I actually do it, including the parts most recipes hide from you.
Why Fresh Anchovies Beat Anything You Buy Packaged
The difference starts at the fish market, not in your kitchen. A supermarket anchovy fillet has usually been salted, canned, or frozen weeks before it reaches the shelf, and the texture turns mushy and the flavor flattens into pure salt.
When you make homemade salted anchovies from fresh fish, you control the salt ratio, the curing time, and the oil quality. That’s the entire game. A good anchovy should taste of the sea first and salt second, with a firm bite that holds its shape on a piece of bread.
Look for small, bright silver anchovies with clear eyes and no fishy smell. If they smell like ammonia or look dull and bruised, walk away. Freshness is non-negotiable here because you’re not cooking them with heat.
The Two Ingredients You Actually Need
- Fresh anchovies — around 2 pounds (1 kg) is a good starting batch.
- Coarse sea salt — never fine table salt, it dissolves too fast and turns everything into a brine.
You’ll also need a glass jar, something heavy to weigh the fish down, and later a good extra virgin olive oil for the final packing. But for the curing stage, it’s really just fish and salt.
I use a clean glass jar because plastic absorbs smells and the salt will eventually pit metal lids. A jar with a rubber gasket is ideal, but any glass container that closes tightly works.
Step by Step: How to Salt Anchovies at Home
This is the part where people quit, and honestly it’s the easiest part. You just need patience and a podcast playing in the background.
First, remove the head and pull out the guts. You can do this with your fingers, or with a small knife if you prefer. Don’t rinse them under the tap; you’ll wash away flavor and add water you don’t want in the cure.
Then, in the glass jar, start layering. A layer of coarse salt, a layer of anchovies, another layer of salt, another layer of fish. End with a thick layer of salt on top. The salt should fully surround every fish.
Cover with a weight. I’ve used a smaller jar filled with dried lentils, and it works perfectly. The goal is to keep the fish pressed down so they release their own liquid and cure evenly.
Leave the jar in a cool, dark place. Not the fridge. A cellar, a pantry, or a cool cupboard works. Temperature matters more than people admit: too warm and the fish spoils before it cures, too cold and the process stalls.
How Long Do Anchovies Need to Cure?
Two months minimum. Three is better. I’ve tested batches and the difference between 60 and 90 days is noticeable: the flesh firms up, the salt penetrates deeper, and the flavor becomes rounder instead of just salty.
Some Italian and Spanish families cure them for up to six months. That’s the traditional way, and the result is a salted anchovy that tastes almost like a condiment. But two months is a solid, safe starting point for a first batch.
You’ll know they’re ready when the fish feel firm, the smell is clean and marine, and the flesh separates easily from the spine when you open them.
Cleaning and Packing in Olive Oil
When curing is done, take the anchovies out and rinse them gently in a bowl of water or white wine vinegar. This removes excess surface salt.
Open each fish with your fingers, remove the spine and any remaining bones, and lay the fillets flat. You can also scrape the skin off if you prefer a cleaner texture, but many people leave it on.
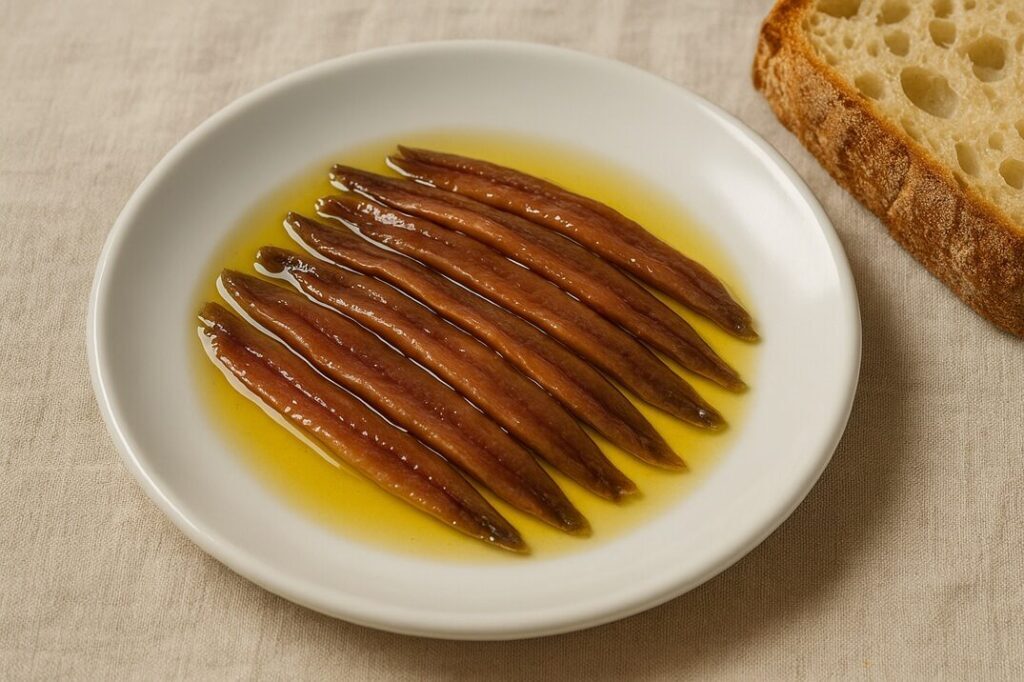
Then pack the fillets into a clean glass jar, layering them with good extra virgin olive oil. Make sure the oil fully covers the fish. Any part exposed to air will oxidize and turn unpleasant.
Store the jar in the fridge. The olive oil will solidify at cold temperatures; that’s normal. Take it out 15 minutes before serving and it turns liquid again.
How to Eat Them
On warm toast with butter, they’re ridiculous. On a piece of crusty bread with a slice of tomato, they’re a meal. Chopped into a vinaigrette, they add a depth that no store-bought anchovy paste can match.
They also work as a topping for pizza, folded into pasta sauces, or served alongside roasted peppers. The oil left in the jar is gold — use it for dressings.
Common Mistakes That Ruin a Batch
Using fine salt is the most common one. It creates a brine instead of a cure, and the fish turn mushy. Stick to coarse sea salt, always.
Skipping the weight is another. Without pressure, the fish float in their own liquid and cure unevenly, and some spots spoil before the salt reaches them.
Storing in a warm place is the third big one. If your kitchen hits 25°C in summer, find a cooler spot or wait for autumn. Anchovies are a cold-weather project.
And finally, don’t rush the timeline. I know people who opened the jar at three weeks and were disappointed. Salt curing is not a fast process, and pretending otherwise only wastes good fish.
Is It Worth the Effort?
Absolutely, but for reasons people don’t expect. It’s not about saving money, because fresh anchovies aren’t always cheap. It’s about the flavor gap between something you made and something mass-produced.
Once you nail a batch of anchovies in olive oil at home, the supermarket version tastes flat and one-dimensional. You’ll notice it immediately, and you won’t go back.
Start with a small batch, keep notes on your salt ratio and curing time, and adjust next time. That’s how this becomes a yearly ritual instead of a one-off experiment.