

Post actualizado el día September 27, 2026 by DeiviSanzPlay
Have you ever wondered how to install a Starlink antenna in your home? If you’re here, it’s because you want to take the next step toward a faster and more reliable internet, something that isn’t always possible with traditional connections. SpaceX’s <a href="https://www.starlink.com/”>Starlink satellite dish antenna can be your salvation for getting high-quality connection satellite. But of course, it’s not as simple as plug and play, you have to follow some crucial steps. Don’t worry, here I’ll tell you how to do it easily and quickly.
I recommend you check out this article, which is interesting: Exploring Custom Shaped Cushions.
First of all, it’s important that you know that, to install Starlink correctly, you’ll need to consider certain basic requirements. Make sure you have an open space with a clear view, such as a roof or an elevated spot where you can place the Starlink antenna, so it receives the best possible signal. Did you know that the antenna’s location is key to ensuring the best signal quality? It’s not just any spot, it has to be the right one!
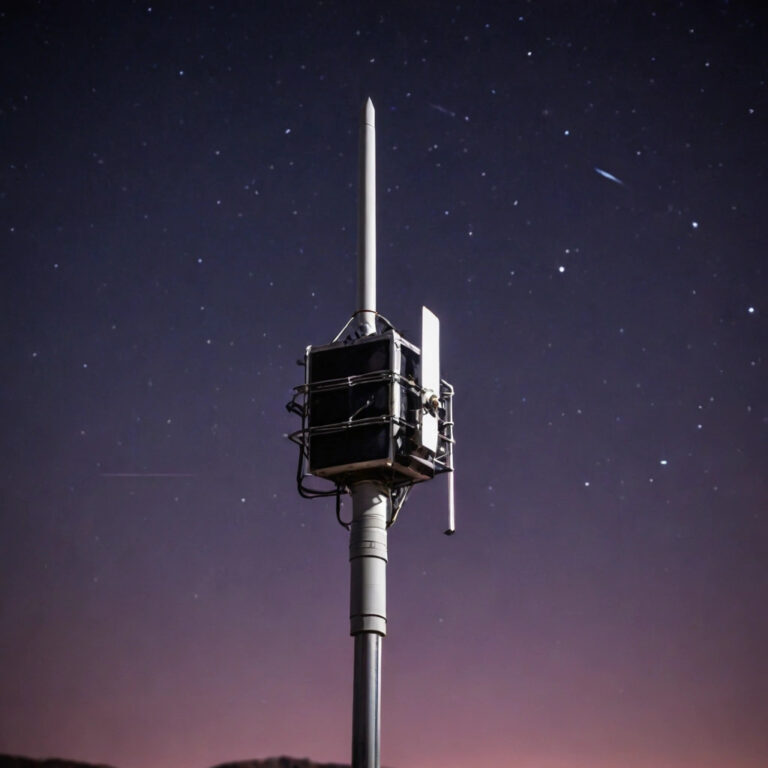
Now, to begin the Starlink setup process, you’ll need to have your kit on hand. This includes the satellite dish, the router, and the cables needed to connect everything properly. The first step is to place the antenna in an elevated and clear location, since the satellite signal needs open space to arrive without obstacles. A spot on the roof or a mast works perfectly.
Once the site is ready, the next step is to mount the Starlink antenna. This is where the magic begins, because depending on how it’s done, you’ll have an efficient installation or something with constant failures. Make sure to adjust the cables correctly to prevent them from coming loose or interfering with the signal. This will allow you to enjoy a stable connection and avoid interruptions.
Don’t forget that, during the Starlink Internet installation process, it’s vital to take into account the possible obstacles that could interfere with the satellite signal. Trees, tall buildings, or even bad weather can affect signal quality, so choose an open place free of obstructions.
Once you have the antenna mounted, the next thing is to connect the Wi-Fi router. This will be in charge of distributing the Internet signal throughout your home, which means that if it’s poorly located, it could affect coverage. Don’t forget to verify that the wiring is properly connected and to run a speed test to make sure everything works perfectly.
If everything is in order, you should be able to enjoy the best possible Starlink signal. But here’s the interesting part: did you know that the process doesn’t end once you connect the antenna? The final step is to adjust your network settings to ensure the connection is as fast and stable as possible. You may need to change some settings within the Starlink app to optimize your browsing experience. This is the finishing touch to enjoy a fast, uninterrupted satellite Internet connection!