

Post actualizado el día September 27, 2026 by DeiviSanzPlay
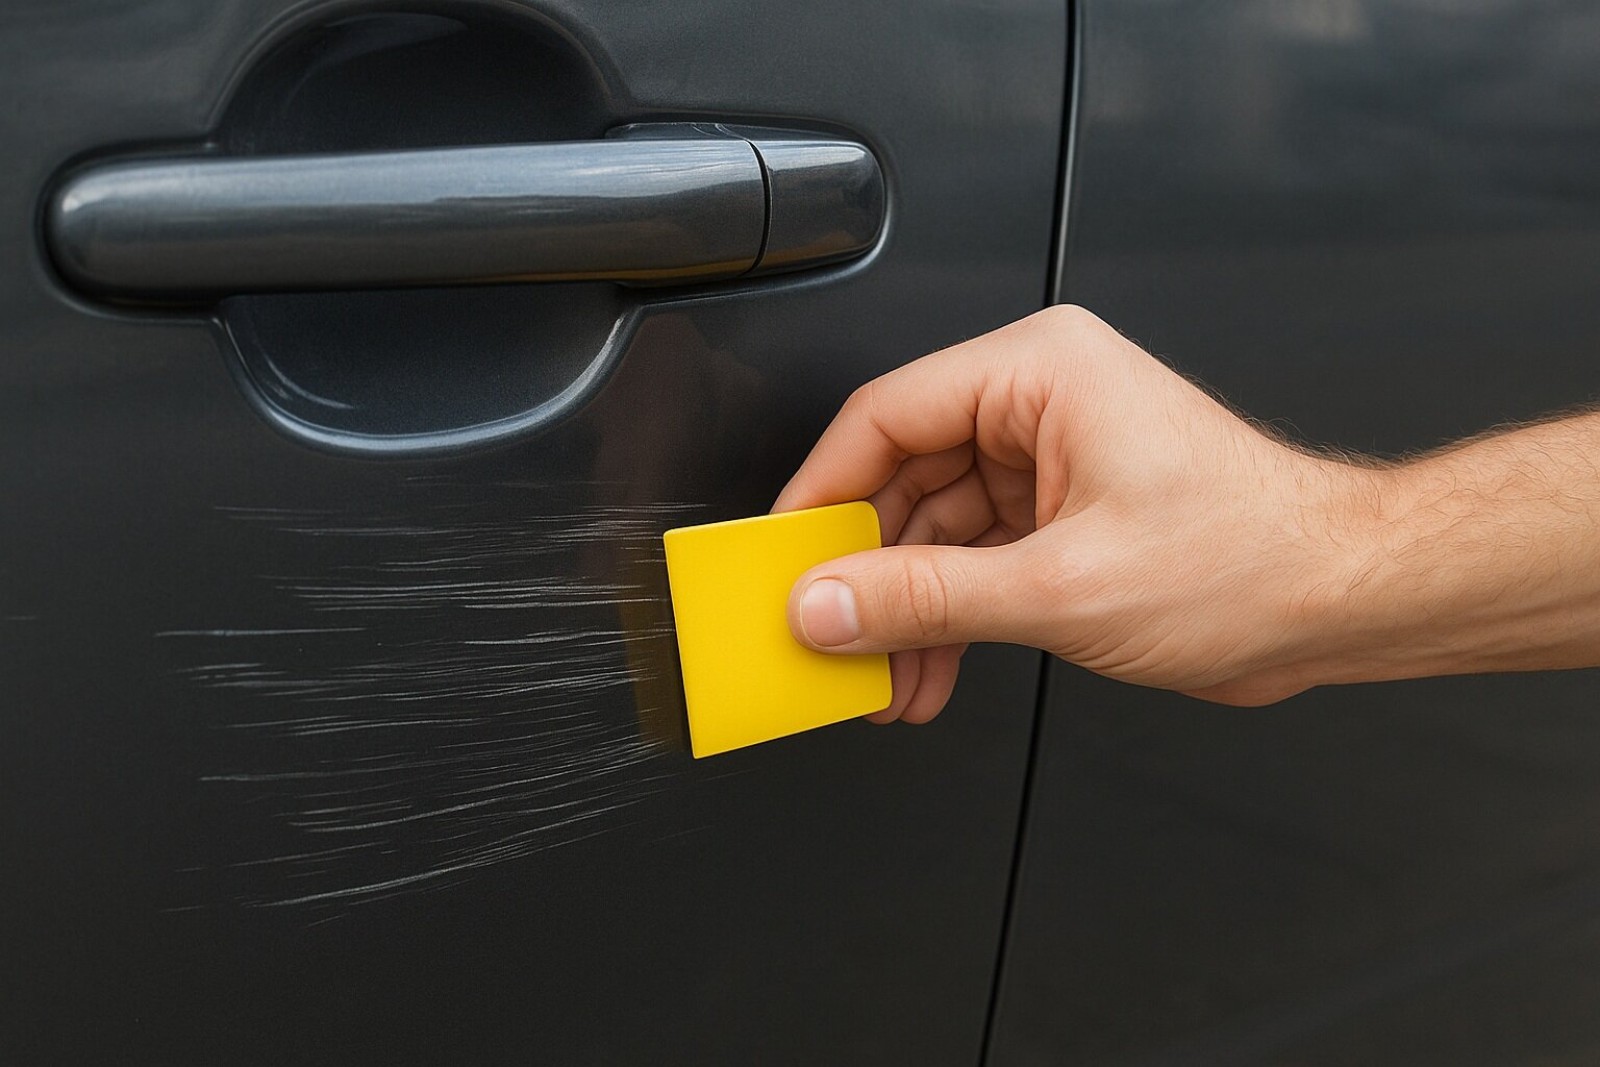
Seeing a new scratch on the car is one of those things that ruins your day. It doesn’t matter if it’s in the garage door, from a branch, or in the supermarket parking lot. The first thing you think about is the cost of the repair shop and the time you’re going to lose. But what if I told you that many of these damages have a more affordable solution?
I recommend checking out this interesting article: Can It Be Bad to Sleep with Earplugs?.
Browsing through forums and tutorials online, I came across the story of a man who decided to take matters into his own hands. He wasn’t a professional, nor an experienced “handyman.” Just someone like you or me, tired of watching his car lose its shine. He documented his entire process, his successes and his mistakes, and from that came this compilation of methods. It’s truthful information, tested by an anonymous person on the internet who simply wanted to share his experience.
The key is knowing what type of scratch it is and what part of the car it’s on. A superficial scratch on the paint is not the same as a deep groove in the plastic of the dashboard. Let’s break it down step by step, in the most straightforward way possible.
how to repair scratches on a black car
Black colored cars are a nightmare when they get scratched. Any white or gray mark stands out like a lighthouse in the night. However, the process for removing those unsightly scratches on a black car can be simpler than you imagine, as long as they haven’t gone through the layer of paint.
The first thing is a thorough cleaning. The man I was talking about insisted a lot on this. He used a cleaning spray specifically for car bodies and a completely clean microfiber cloth. The idea is to remove any particle of dirt or grease that could interfere with the repair product. If this isn’t done, the scratch can get worse by rubbing the dirt against the paint.
For superficial scratches, which are the vast majority, the solution can be a good polish. He used a quality polishing compound and applied it by hand, with a soft cloth, making circular motions with light pressure. The technique consists of dissolving a minimal layer of surface clear coat to even out the shine and make the scratch disappear. It’s a job that requires patience; you can’t be in a hurry.
In his case, after polishing, he applied a layer of high-quality wax to seal and protect the treated area. The result, as he showed in the photos, was impressive. The scratch had completely disappeared and the black had recovered its characteristic depth. Of course, he warned that if you can feel the groove when running your finger over it, the scratch is too deep and this method won’t work.
how to repair scratches on a car
When we talk generically about repairing scratches on a car, it’s vital to make a correct diagnosis. The method you use will depend entirely on the depth of the damage. In the tutorials this person consulted, they always started with the “fingernail test.”
Run your fingernail gently over the scratch. If your nail doesn’t catch, you’re in luck. It means the scratch has only affected the transparent layer of clear coat. For these cases, a polishing kit or even a mild abrasive paste can be more than enough. He used a kit that included a polishing compound and a sealing layer, and it worked perfectly for the scratches from washing.
If your nail catches, but the base color or metal isn’t visible, the scratch has reached the paint. Here things get a bit more complicated. The solution he found was to use a mini touch-up kit that includes clear coat of the exact brand and color of his vehicle. The key is in the preparation: cleaning the area with isopropyl alcohol and applying the paint in very thin layers with the brush or applicator, letting it dry between each one.
For the most serious cases, where the metal is already visible, the DIY solution falls short. Although there are fillers and products for this, he documented that at this point he decided not to attempt it and to go to a professional. His conclusion was clear: it’s better to accept a cost than risk a poor repair that could lead to rust.
how to repair scratches on car plastic
Plastic parts, such as bumpers or trim, are the most prone to getting scratched. The advantage is that since they’re not metal, there’s no risk of rust, which gives us more room to maneuver. The method he saw for fixing scratches on car plastic was quite ingenious.
On textured, unpainted plastic parts, a simple cleaner and protector for plastics can disguise superficial scratches by restoring the original black color. He applied a specific product with a soft toothbrush, rubbing in the direction of the texture. The result wasn’t a structural repair, but visually the scratch stopped being noticeable.
If the plastic is painted and the scratch is deep, the solution involves light sanding and repainting. He didn’t dare to do it, but he documented the case of another person who used 2000-grit wet sandpaper to smooth the edges of the scratch, applied a layer of plastic primer, and then touched it up with a spray of paint matching the car’s color. The process is delicate and requires masking off the area, but the results in the photos were very professional.
For minor scratches on painted plastics, sometimes a little controlled heat is enough. With a heat gun at low temperature and at a safe distance, you can slightly “melt” the surface of the plastic to close the scratch. He didn’t try it for fear of melting the piece, but it’s a technique that exists and that, with extreme caution, can be effective.
how to repair scratches on a car dashboard
The dashboard is the car’s command center and, being constantly in view, any scratch becomes an annoying reminder. The person I followed online faced a rather ugly scratch on his car’s plastic dashboard and tried a couple of solutions.
For superficial scratches, the first option is to use an interior plastic restorer. This product, which usually comes in gel or spray form, nourishes the plastic and can make superficial scratches disappear by uniformly restoring the color. He applied it with a microfiber cloth and the lighter scratch was almost completely blurred out.
If the scratch is deeper, one option is to use a specific sealant for plastics. He applied a small amount of the product into the groove, spreading it with a plastic spatula so as not to mark the area further. Once dry, the sealant fills the void and, if a product of the right color is chosen, the result is almost imperceptible.
In extreme cases, where the scratch is very visible, there’s the option of services specializing in dashboard repair. Although he didn’t get to use it, he researched and found that these technicians use resins and dyes to reconstruct the original texture and color on-site. It’s a more expensive solution than DIY, but much cheaper than replacing the entire dashboard.
how to repair scratches on car body panels
The body panel is the soul of the car, and a scratch here is what worries people most because it can lead to corrosion. The process for repairing scratches on car body panels is critical. The individual whose process I’m recounting faced one on a door.
His first step, after a thorough cleaning, was to assess the depth. Seeing that it was superficial and had only affected the clear coat, he proceeded to polish the area. He used an orbital polisher with a light-cut polishing compound. He was insistent on not using a rotary polisher due to the risk of “burning” the paint if you don’t have experience.
For a scratch that had gone through the paint and reached the primer (it looked grayish), the protocol changes. Following a tutorial, he gently sanded the area with 2000-grit wet sandpaper to create a uniform surface. Then, he applied a little paint matching his car’s color with a fine-tipped brush, layer by layer, letting it dry between each one.
Patience is the main virtue. After applying several thin layers and letting it dry completely for a day, the paint had ended up above the original level. Then, he gently sanded again to level it out and finished by polishing the area with a finishing compound to restore the shine. The result wasn’t 100% perfect, but from a meter away it was impossible to see.
how to repair scratches on car glass
Scratches on car glass or windshield are especially dangerous because they can compromise visibility and, in severe cases, the structural integrity of the glass. The solution for repairing scratches on car glass depends, once again, on the depth.
For small superficial scratches, a specific glass polishing product can be used. He bought a kit that included a cerium oxide compound and a drill adapter with a felt pad. After thoroughly cleaning the area, he applied the compound and polished at low speed, periodically cooling the glass with water to prevent overheating.
If the scratch is so deep that it can be felt with a fingernail, polishing may not be enough. In these cases, the most sensible thing is to consult a windshield repair specialist. There are techniques to fill the grooves with transparent resins that cure with UV light, restoring the transparency and strength of the glass. He didn’t dare do it on his own.
His final recommendation, after his research, was clear: for deep or long scratches in the driver’s field of vision, the safest option is to replace the windshield. An imperfect repair can distort light and create dangerous glares during nighttime driving.
how to repair car paint scratches
This is the universal problem. The vast majority of scratches affect the car’s paint. The techniques for repairing scratches on car paint are varied and success depends on a correct initial assessment.
For micro-scratches (also called “swirls”) left by aggressive washing, the solution is polishing. He used a dual action (orbital) polisher with a soft cutting foam pad and a polishing compound. The process removed the top layer of clear coat where the micro-scratches were, leaving a smooth and shiny surface. It is crucial to then protect the paint with a wax or sealant.
When the scratch has gone through the clear coat and the color paint, but not the primer, a touch-up is needed. The most practical option are touch-up kits that come with paint, clear coat and sometimes primer. The technique he saw and successfully applied was the “fingernail brush”: a tiny drop of paint is applied to the scratch and smoothed with a fingernail once semi-dry. It sounds rudimentary, but for linear and fine scratches it is surprisingly effective.
In his experience, patience is the most important factor. Filling a scratch requires applying several layers, letting each one dry for hours. Trying to speed up the process by applying a thick layer only leads to disaster: drips, bubbles and an unsightly finish that is worse than the original scratch.
how to repair deep scratches on a car
Deep scratches are the scary ones. They are clearly visible and when you run your finger over them, there is an undeniable groove. Tackling the task of repairing deep scratches on a car requires more time and materials, but it is not impossible for a determined hobbyist.
The process he documented was meticulous. First, he thoroughly cleaned the groove with isopropyl alcohol. Then, he used a fine-tipped marker with paint matching his car’s brand and color to fill the bottom of the scratch. The idea is to cover the primer or the metal to prevent corrosion. It doesn’t matter if it stays below the surface level, it is the base.
Next, he began building the layers. He used the brush from the touch-up kit to apply very thin layers of paint, waiting at least 2-3 hours between each application. For a deep scratch, between 5 and 8 layers may be necessary so that the paint sits slightly above the original surface.
Once the paint was completely dry (he waited 24 hours), it was time for sanding. With 2500-grit wet sandpaper, he gently sanded the area with plenty of water, just to reduce the excess paint and level it with the rest. Finally, he polished the area with a polishing compound and then with a glaze or “wax” to restore the shine. The result, shown in his photos, was excellent. It wasn’t perfect for a concours d’elegance, but for daily use, the scratch had ceased to exist.
Frequently Asked Questions (FAQ)
Frequently Asked Questions (FAQ)
How can scratches be repaired on a black car without going to the shop?
For superficial scratches on a black car, a quality polish applied by hand or with an orbital polisher is usually enough. It is crucial to clean the area beforehand and apply a protective wax afterward to seal the work.
What is the easiest way to repair scratches on a car?
The easiest way is for scratches that only affect the clear coat. Using a polishing kit or a good quality “scratch remover” can make them disappear in minutes, without the need for technical skills.
Is it possible to permanently repair scratches on car plastic?
It depends on the depth. Superficial ones can be permanently concealed with plastic protectors. Deep ones on painted plastics require a repair with primer and specific paint for the result to be durable.
What product should be used to repair scratches on a car dashboard?
For minor scratches, an interior plastic restorer. For deeper grooves, a plastic filler in the right color is the best option to fill the gap so it doesn’t show.
Is it worth trying to repair scratches on car bodywork yourself?
Yes, as long as the scratch hasn’t reached the metal. If the metal is visible, the risk of rust is high and it is advisable to have a professional assess it for a definitive repair.
Can scratches on car glass be removed?
Superficial scratches can, with a glass polishing kit that contains cerium oxide. Deep ones that affect integrity or visibility must be repaired by a specialist or, directly, by replacing the glass.
How to repair scratches on car paint professionally?
The key is in the preparation (cleaning) and in applying paint in thin, multiple layers, letting each one dry completely between applications. The final finish with a gentle polish is what gives the professional touch.
What do I do if I have to repair deep scratches on a car?
You will need a touch-up kit with paint and clear coat. The process is slow: fill the groove with multiple layers of paint, let it dry completely (24 hours) and then gently sand with fine-grit wet sandpaper to level the surface before polishing.