
Post actualizado el día octubre 26, 2026 by DeiviSanzPlay
Making a heart-shaped cushion is one of those DIY projects that looks harder than it is. You don’t need a sewing machine, a pattern-making degree, or a craft room full of expensive gadgets. A bit of fabric, a needle, thread, and stuffing will get you there. And the result? A handmade heart cushion that beats anything you can buy in a store because it carries your own effort in every stitch.
I’m not going to pretend this is a five-minute craft. It takes an afternoon. But if you follow the steps below, you’ll end up with a plush heart-shaped pillow that actually looks like a heart, not a lumpy blob. That distinction matters, and most online tutorials skip the details that make the difference.
What You Actually Need Before You Start
Gather your materials first so you’re not running around mid-project with a needle in your hand. For a standard heart cushion of about 30 cm wide, you’ll need:
- Fabric: half a meter of cotton, linen, or soft fleece. Cotton is the safest bet for beginners because it doesn’t slip under the needle.
- Thread: polyester all-purpose thread, matched or contrasting to your fabric.
- Needle: a sharp hand-sewing needle, size 7 or 8 for medium-weight fabric.
- Stuffing: polyester fiberfill. Around 200–300 grams for a medium cushion.
- Scissors: fabric scissors, and keep them sharp. Dull scissors shred your edges.
- Chalk or fabric marker for tracing your pattern.
- Pins to hold the two fabric pieces together.
Optional but useful: a seam ripper (you will make mistakes), and embroidery floss if you plan to personalize the cushion later.
Step 1: Draw a Heart Pattern That Doesn’t Look Like a Potato
The biggest mistake people make when sewing a heart cushion by hand is freehanding the shape directly onto fabric. Don’t. Draw your heart on paper or cardboard first, then cut it out and use it as a template.
A trick for a symmetrical heart: fold a piece of paper in half, draw half a heart along the fold, and cut. When you unfold it, you get a perfectly balanced shape. The top lobes should be wide and rounded, and the bottom point should be sharp enough to read as a heart but not so sharp that it’s hard to sew.
Trace the template onto your fabric twice, leaving at least 1.5 cm of seam allowance around each outline. Cut both pieces. If your fabric has a print, make sure both hearts face the same direction before cutting.
Step 2: Sew the Two Halves Together (Right Sides Facing)
Place the two fabric hearts with their right sides facing each other. This is the part where people mess up: if you sew with the pretty side out, you’ll end up with visible seams on the outside. Pin the edges together, leaving a gap of about 8–10 cm along one of the straight-ish side edges. That gap is where you’ll flip and stuff the cushion.
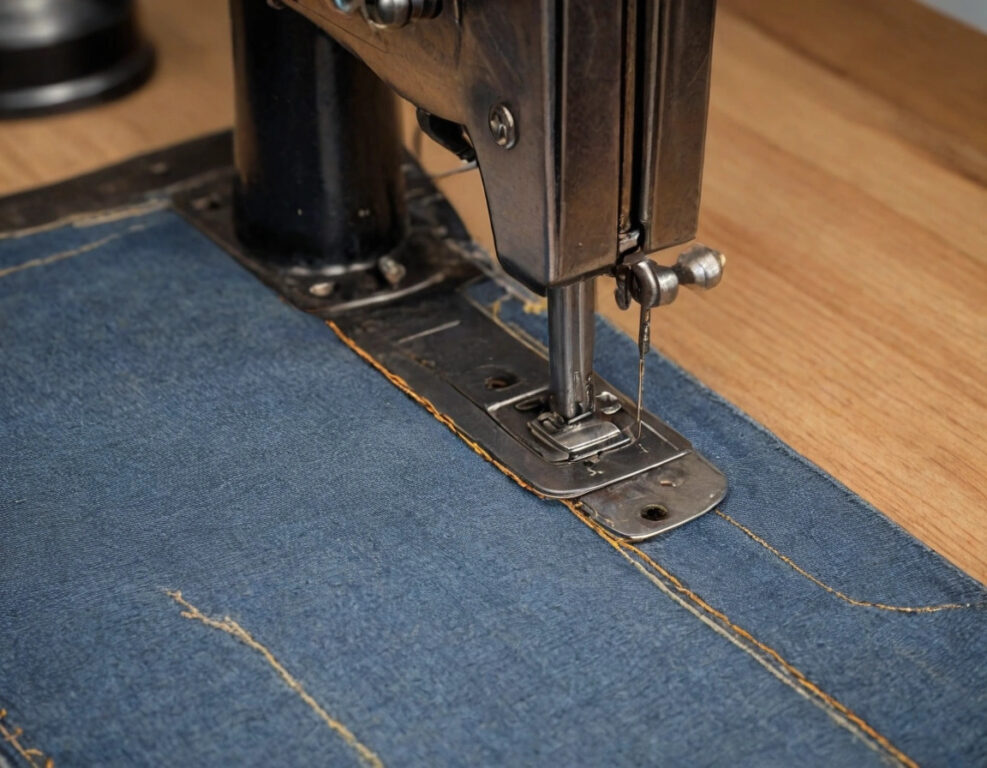
Now sew a simple running stitch or backstitch along the outline, about 1 cm from the edge. Backstitch is stronger and worth the extra time. If you’re using a sewing machine, a straight stitch with a 2.5 mm length works fine. Slow down at the top curves and the bottom point — that’s where fabric puckers.
Once sewn, trim the seam allowance down to about 0.5 cm, and clip small notches into the curves (not through the stitches). This stops the fabric from bunching when you turn it right side out.
Step 3: Turn, Stuff, and Shape Your Heart Cushion
Reach through the gap you left and pull the fabric right side out. Use a dull pencil or the back of a paintbrush to push out the top curves and the bottom point. Now the fun part: stuffing.
Pull small handfuls of fiberfill apart before pushing them in. Don’t shove one giant clump — that creates lumps. Work from the outer edges toward the center, filling the two top lobes and the bottom point first, then the middle. For a plush, full look, overstuff slightly more than feels right; the fabric will stretch a bit and settle.
Once it’s full, hand-sew the opening closed with a ladder stitch. It’s invisible when done right, and it takes two minutes.
Step 4: Personalize It (This Is Where It Gets Good)
A plain heart cushion is fine. A personalized heart cushion is the one people keep on their sofa for years. A few ideas that actually work:
- Embroidery: stitch a name, initials, or a short message in the center. Use a simple backstitch or chain stitch.
- Buttons and beads: sew small buttons along one lobe for texture.
- Appliqué: cut a smaller heart from contrasting fabric and stitch it onto the front before stuffing.
- Sequins: if you want sparkle, use flat sequins and secure each one with a tiny bead so they don’t snag.
For Valentine’s Day gifts, a heart cushion with a date or a short handwritten-style embroidery is hard to beat. For kids’ rooms, use bright cotton prints and skip anything that could come loose — safety first with small children.
Common Mistakes That Ruin a DIY Heart Cushion
I’ve made most of these, so learn from my pain:
- Skipping the pattern: freehand hearts are never symmetrical. Just don’t.
- Not clipping curves: the top lobes will look wrinkled and sad.
- Understuffing: a flat heart cushion looks cheap. Add more filling than you think you need.
- Using the wrong fabric: slippery satin is a nightmare for hand sewing. Stick to cotton or fleece for your first try.
- Forgetting the gap: if you sew all the way around, you’ll have to rip stitches to stuff it. Trust me on this one.
How Long Does It Take and What Does It Cost?
A realistic timeline for a beginner: 2 to 3 hours from cutting to finishing, plus drying time if you use fabric glue anywhere. Cost-wise, you’re looking at around $8–$15 in materials if you’re buying everything new. Less if you already have fabric scraps and thread at home.
Compared to buying a heart-shaped decorative pillow, this is cheaper and far more meaningful. And if you’re making several for gifts, the per-unit cost drops fast because you’ll have the pattern ready and you’ll know the rhythm.
So here’s the honest bottom line: this is a beginner-friendly project that rewards patience more than skill. The materials are cheap, the steps are simple, and the result is a heart-shaped cushion that looks handmade in the best possible way. Pick a fabric you actually like, take your time on the curves, and don’t be afraid to redo a seam. The second one will be twice as good as the first.