
Post actualizado el día octubre 26, 2026 by DeiviSanzPlay
Snow photography isn’t about pointing and shooting. It’s a fight against your own camera, which will lie to you every single time. Your light meter sees all that white and panics, deciding the scene is way brighter than it actually is. Result: grey, muddy, lifeless images that look nothing like the winter wonderland you were standing in.
I’ve been burned by this more times than I care to admit. The fix isn’t complicated, but it requires you to stop trusting the automatic settings and start thinking like the camera is actively working against you. Because in snow, it basically is.
Why Your Camera Gets Snow Photography Wrong (And How to Fix It)
The core problem with snow photography is metering. Your camera assumes the world averages out to a middle grey. Snow breaks that assumption completely.
When you shoot a snowy scene in auto mode, the camera sees all that brightness and dials down the exposure to compensate. That’s why your snow comes out looking like dirty concrete. The fix is simple: overexpose by +1 to +2 stops using exposure compensation.
Start at +1 and check your histogram. You want the peaks pushed to the right side without clipping. If the highlights are blinking red, pull back a third of a stop. This single adjustment transforms more snow photos than any lens or filter ever will.
Shoot RAW or Don’t Bother
JPEG files in snow are a nightmare to recover. You’ve got maybe half a stop of latitude before highlights turn into pure white blobs with no detail. RAW gives you two to three stops of recovery in editing.
If your camera has a highlight-priority metering mode, use it. It protects the brightest areas and lets you lift shadows later. Combined with RAW, this is the most reliable snow photography technique you can adopt.
Camera Settings That Actually Work in Snow
Forget auto ISO. Set it manually. Snow scenes have massive dynamic range and your camera will crank ISO to 6400 the moment a cloud passes over, introducing noise you don’t need.
- ISO: 100-400 in daylight. Only push higher if you’re shooting handheld in fading light.
- Aperture: f/8 to f/11 for landscapes. This keeps foreground snow texture and distant mountains both acceptably sharp.
- Shutter speed: 1/125s minimum handheld. If you want falling snow as streaks, drop to 1/30s. For frozen snowflakes, 1/500s or faster.
- White balance: Daylight preset, not auto. Auto WB will warm up your snow and turn it yellow.
Those settings won’t win you awards on their own, but they eliminate the technical disasters that ruin most winter photography attempts.
Composition: Stop Centering the Mountain
Snow flattens everything. A wide shot of a snowy field looks like a white rectangle with no depth cues. You need to manufacture depth deliberately.
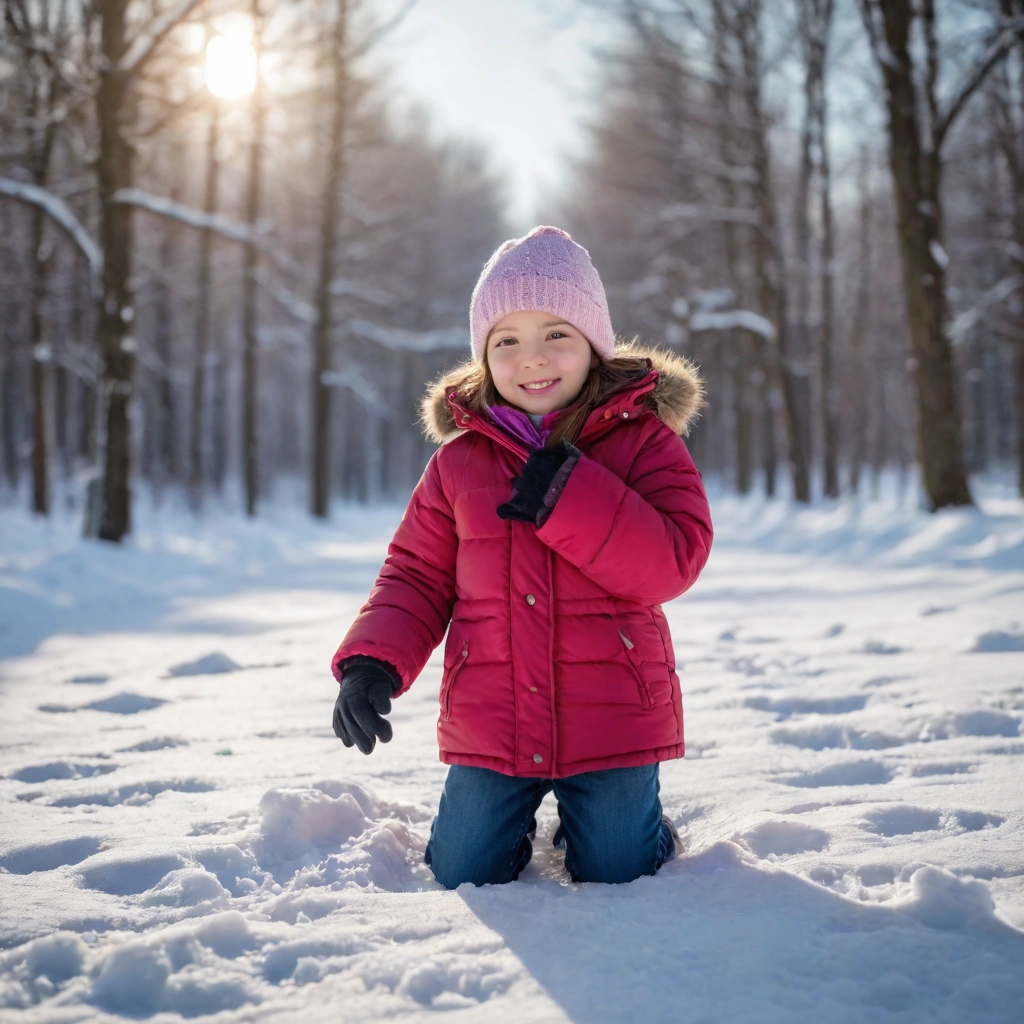
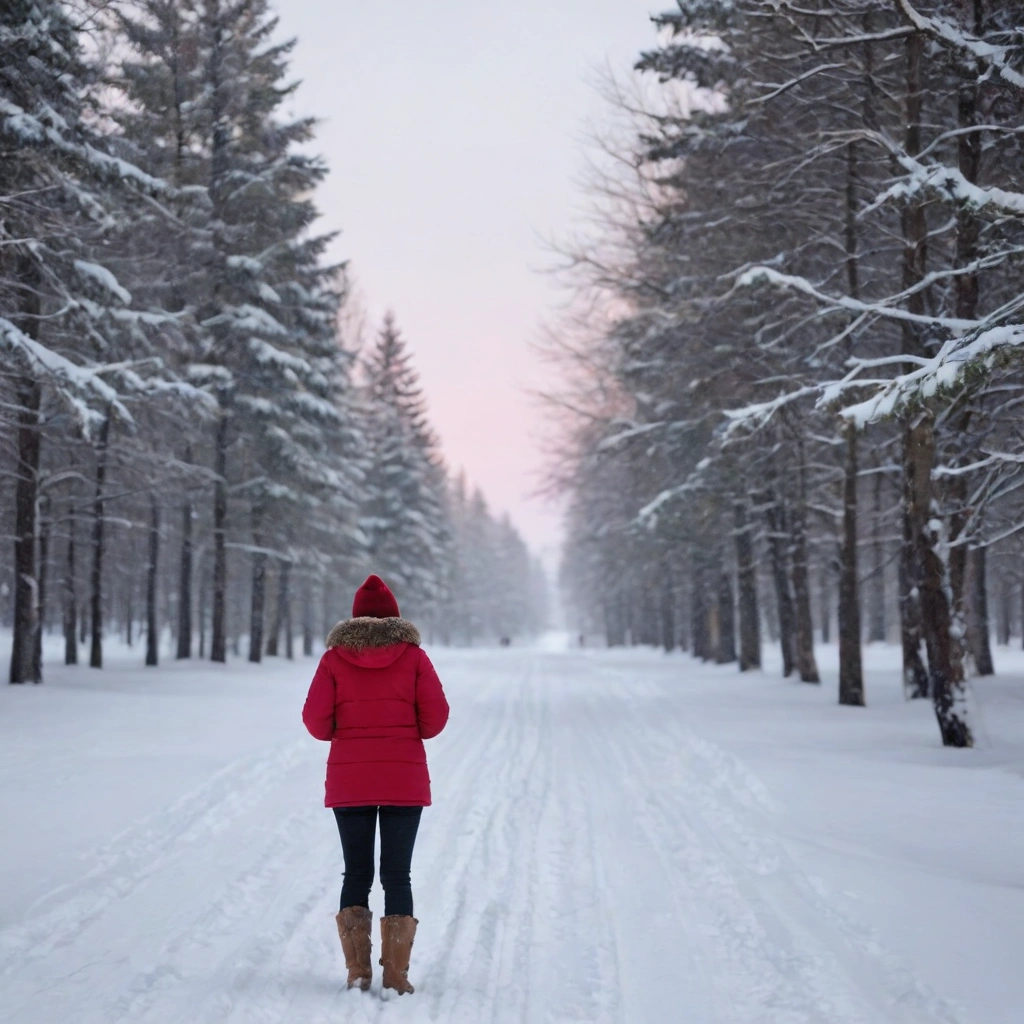
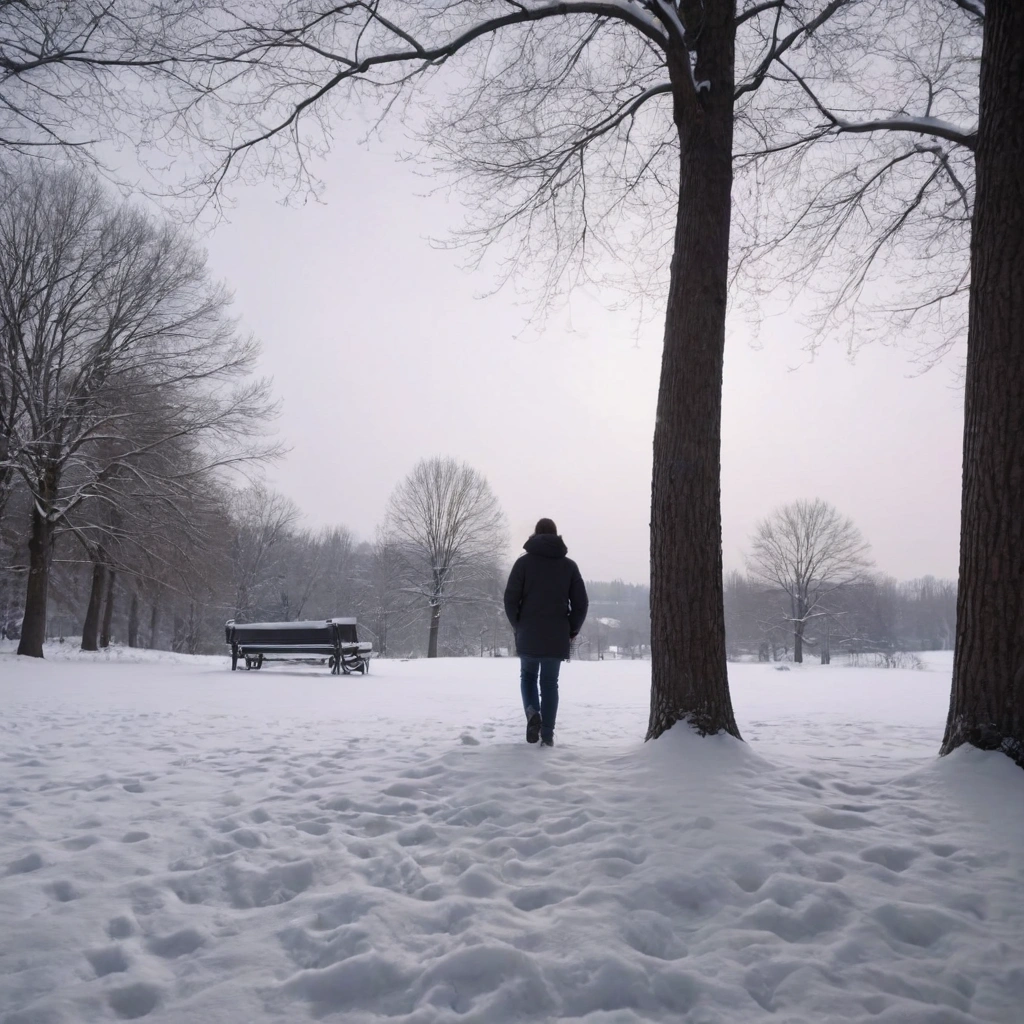
My rule: every snow photo needs something dark in the frame. A rock, a tree trunk, a fence post, a person in a red jacket. Without a dark anchor, the eye has nowhere to land and the image feels empty.
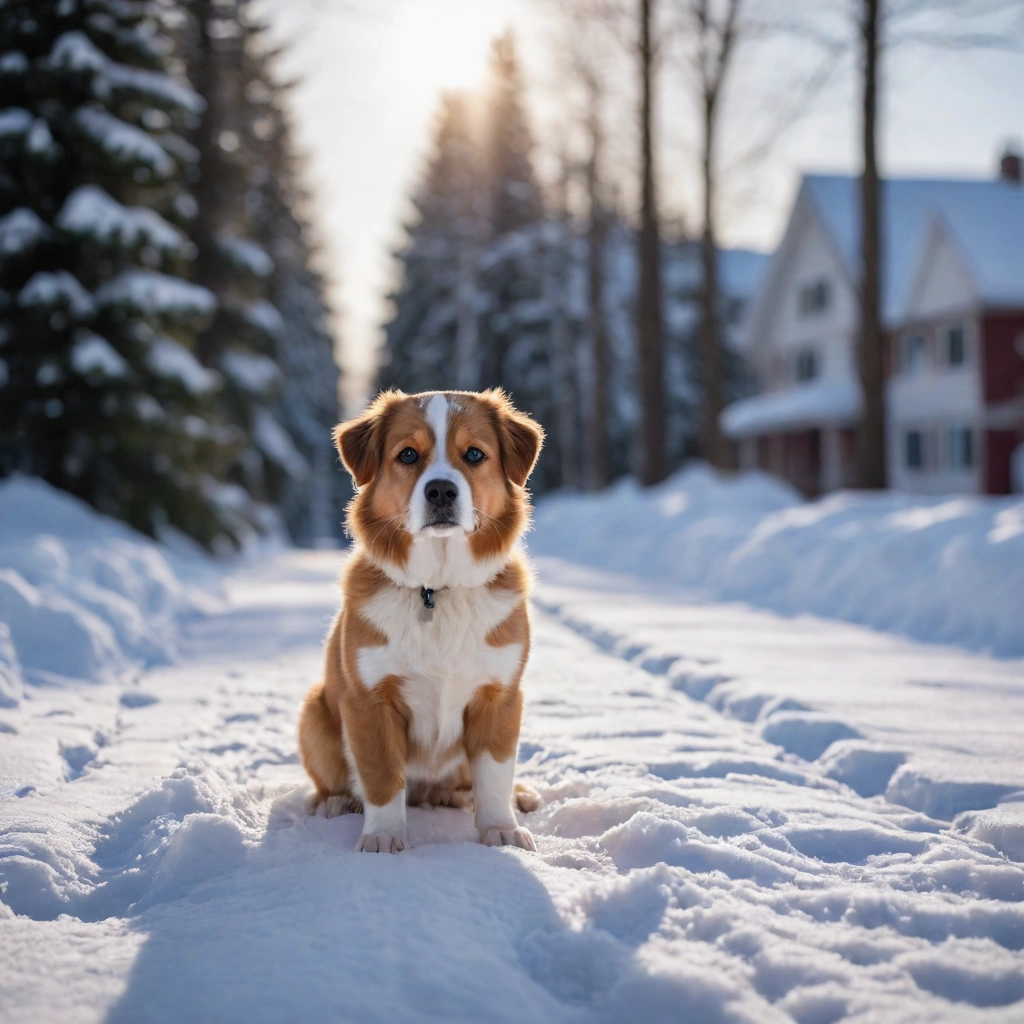
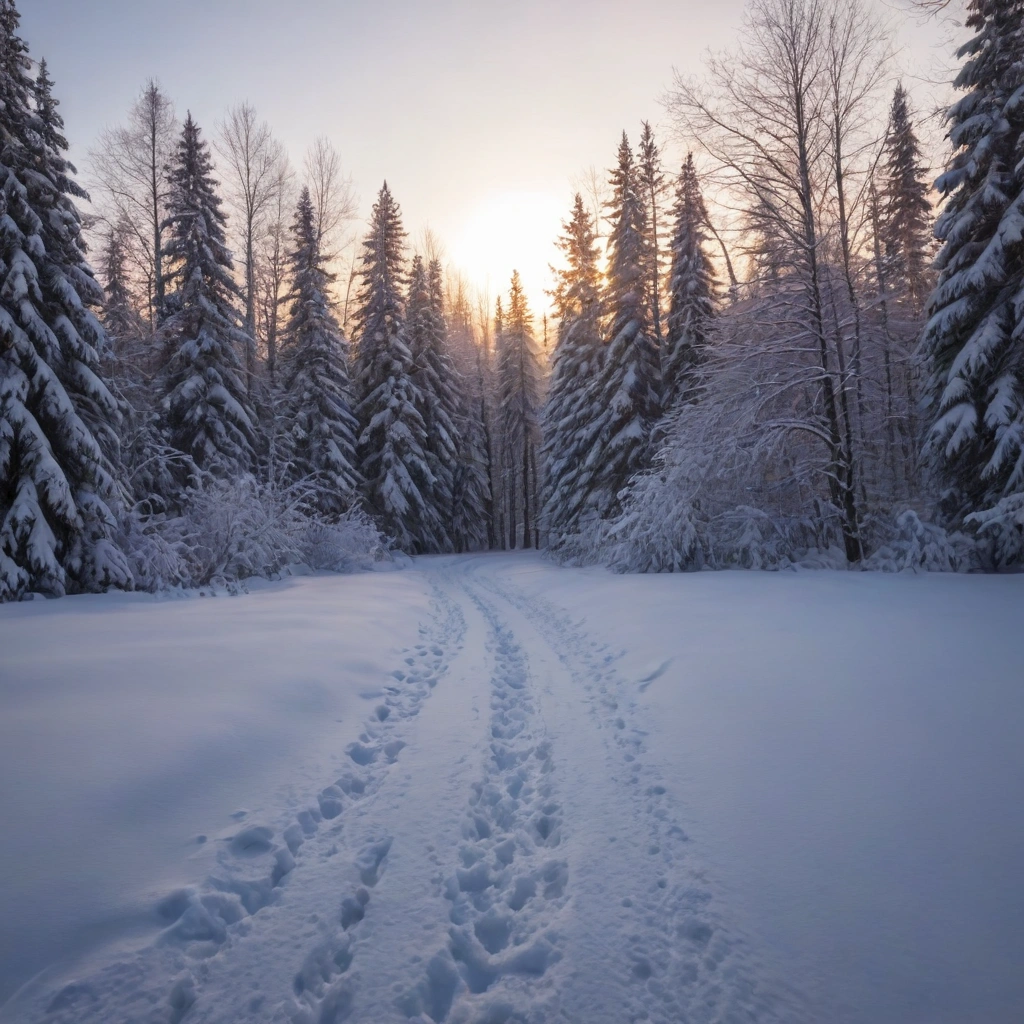
Look for leading lines in the snow itself. Animal tracks, ski trails, a road cutting through the landscape. These give the viewer a path through the frame instead of a flat white wall.
Low angles work surprisingly well. Get your camera near the snow surface and shoot across it. You’ll capture texture and sparkle that disappears from eye level.
The Blue Hour Is Your Secret Weapon
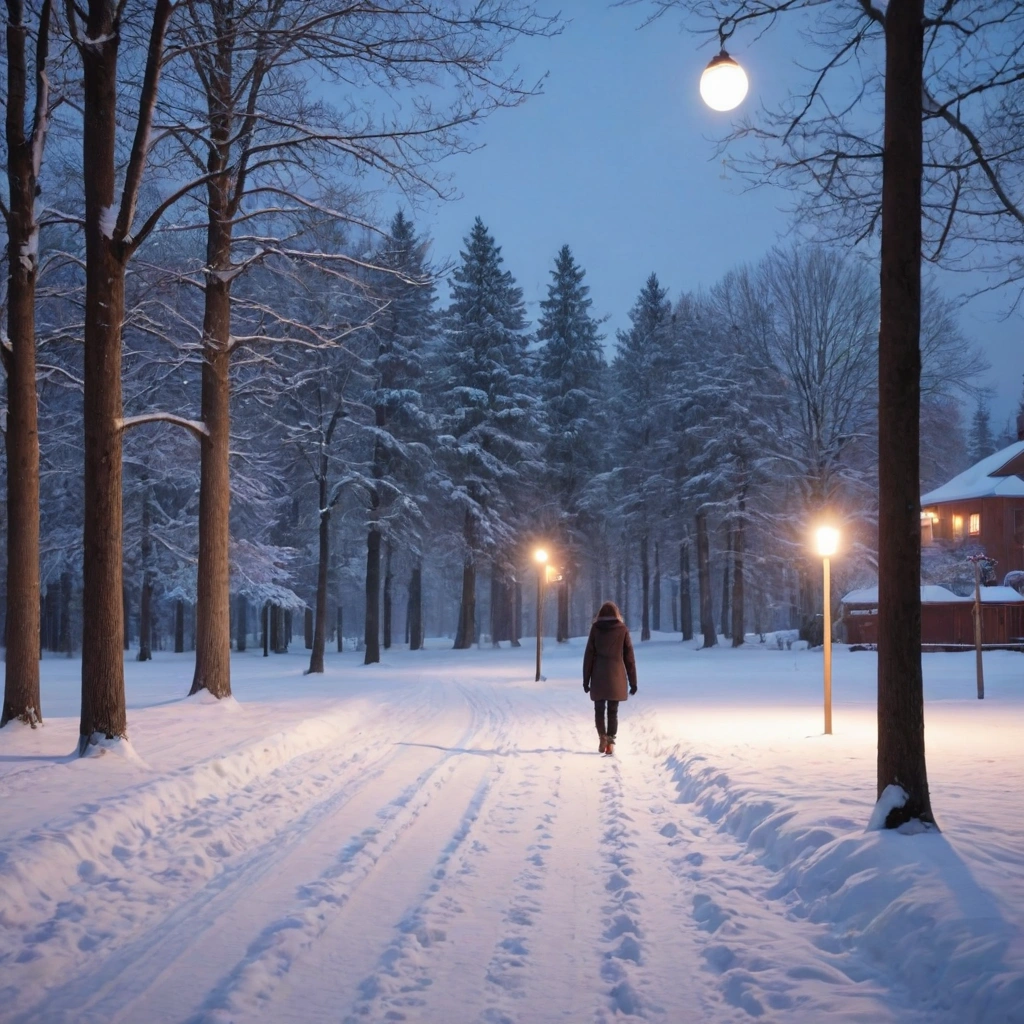
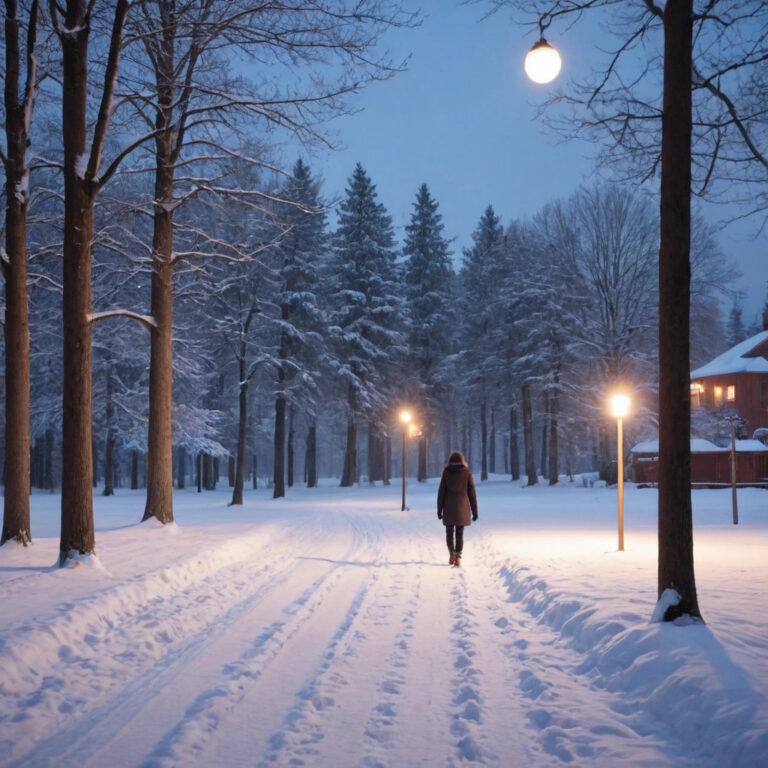
Golden hour gets all the attention, but blue hour — the 20-30 minutes after sunset — is where snow photography gets interesting. The snow picks up deep blue tones from the sky while artificial lights (streetlamps, windows) burn warm orange. That color contrast is nearly impossible to replicate artificially.
Bring a tripod. Blue hour light is dim, and you’ll need 1-4 second exposures. The reward is images that look genuinely magical rather than just well-lit.
Protecting Your Gear Without Losing Your Mind
Condensation kills cameras in winter. Going from cold outside to warm inside fogs your lens internally, and repeated cycles can grow fungus on the glass. Prevention is straightforward.
- Before going out, put your camera in a sealed plastic bag with the air squeezed out.
- When you come back inside, leave it in the bag for 1-2 hours until it reaches room temperature.
- Never breathe on the lens to clean it in freezing temps — the moisture freezes instantly.
Batteries drain fast in cold. Carry two spares in an inside pocket against your body. A battery that shows empty at -10°C will often show half-full again once warmed up.
If snow is falling heavily, a rain cover or even a shower cap over the lens works fine. Don’t overthink it.
Editing Snow Photos: Less Is More
Most snow photos get ruined in post-processing. People crank saturation and clarity, and suddenly the snow looks radioactive.
Here’s what actually matters:
- White balance: Get this right first. Snow should be neutral white or slightly cool, never yellow.
- Highlights: Pull them down to recover texture in bright snow. Push them up and your snow becomes a featureless white blob.
- Shadows: Lift them slightly. Snow scenes have deep shadows that go pure black without help.
- Clarity: Use sparingly. A little brings out snow texture; too much creates ugly halos around dark objects.
Skip heavy filters entirely. The appeal of snow photography is its natural minimalism. Editing that fights against that misses the point.
When to Break Every Rule I Just Gave You
Rules are starting points. If you’re shooting a snowstorm at night under streetlights, you’ll need ISO 3200 and f/2.8. If you’re capturing a snowball fight, shutter speed matters more than aperture. If you want intentionally dark, moody snow photos, underexpose on purpose.
The technique that matters most is the one that gets the shot. A technically imperfect photo of a genuinely interesting moment beats a perfectly exposed photo of nothing.
Snow photography rewards preparation and punishes laziness. Get your exposure compensation dialed in before you leave the house, keep your batteries warm, and shoot RAW. Everything else is just practice.