

Post actualizado el día octubre 26, 2026 by DeiviSanzPlay
I have seen how a well-made paper plane flies, and it is not by chance. Almost all of us have done it at some point, but the ones that truly fly are another story. I got hooked when I saw one glide farther than I had ever imagined.
I am not going to give you those generic steps that you find anywhere. How to make a paper airplane that flies far is a skill, not a recipe. And the first thing you must accept is that paper is much more important than it seems.
Paper Choice: The Silent Dealbreaker
A standard 80-gram sheet is a good starting point, but if you try a thinner flyer sheet, sometimes it also works. Avoid thick cardboard, but that does not mean a slightly sturdier paper cannot surprise you if you adjust the weight. I have tested 60g, 80g, and 100g sheets with the same design, and the results are not subtle. A 60g sheet gives you more glide but folds less crisply; an 80g sheet is the sweet spot for distance; a 100g sheet needs a harder throw to stay airborne.
If you want to make a paper airplane fly far, do not ignore paper grain. Fold along the grain, not against it, and the creases will hold their shape. Against the grain, the nose will open mid-flight. It is a tiny detail that most tutorials skip, and it costs you meters.
Folding Precision and Symmetry: Where Distance Is Won
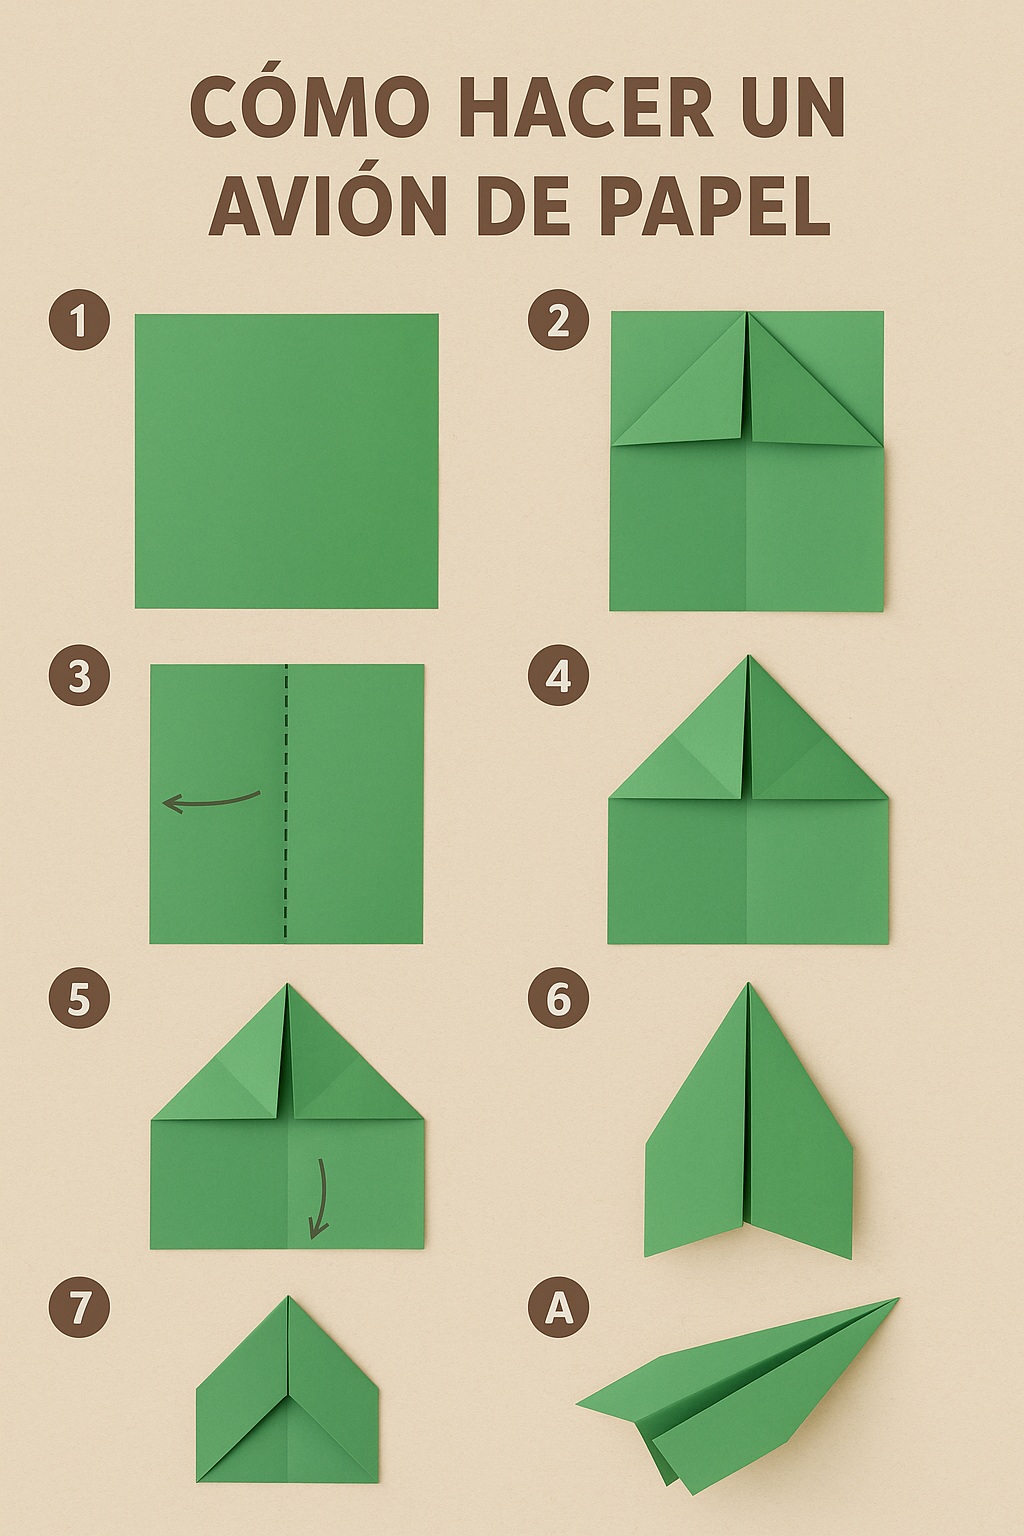
Precision in the folds is what separates a lopsided plane from one that cuts through the air. Folding and unfolding to crease better, even using a ruler for the edges, changes everything. And the most critical part: symmetry. If one wing ends up half a millimeter shorter or a fold is not identical, the plane will spin in a spiral down to the ground. You have to check it by turning it and looking at it from every angle.
I use a simple trick: after every fold, I press the crease with a fingernail or a credit card edge. Then I unfold and refold once. That double-crease makes the paper airplane fly far because the structure resists deformation during launch. If you skip this, the plane will twist under speed.
The Design That Truly Goes Far
The classic sharp-nosed one is reliable, but it is not the only one. For pure distance, I have seen that designs with a slim body and wings that are not too wide tend to go faster and straighter. Sometimes, a small clip on the nose can save a plane that tends to lift up and slow down. It is a matter of trying: you attach it, you test it, and if it does not work, you take it off.
My personal pick for how to make a paper airplane that flies far is a modified dart: long fuselage, narrow wings, and a nose that is folded three times, not two. That extra fold adds weight exactly where you need it. The plane stops stalling and starts tracking like a bullet.
But here is the exception: if you throw indoors, a wide-wing glider beats the dart. Distance outdoors and distance indoors are different sports. Outdoors, you want speed and penetration. Indoors, you want lift and slow descent. Adjust your design to the room, not to a generic YouTube tutorial.
Elevators and Trim: The Final Touch
The final touch is in the elevators. Folding only the rear tip of the wings upward will make the plane descend. If you fold it slightly downward, it will gain altitude. And if you want it to turn, one up and one down, but with minimal adjustments, almost imperceptible.
I keep a mental rule: one millimeter of elevator equals roughly half a meter of flight path change. Start with 2 mm up on both wings. If the plane noses down, reduce to 1 mm. If it climbs and stalls, add 1 mm more. Do not bend the whole wing, just the trailing edge. That is how you make a paper airplane fly far without overcorrecting.
Most people ruin a good plane by touching the wings too much. Trim once, throw, observe, adjust once. Repeat. Never bend and re-bend in the same session without a test throw between.
Launching It Is Not Just Throwing
This is where many people ruin it. Force is not everything. For most, a firm but not violent throw, with the plane perfectly level or with a minimal upward tilt, is what works. If there is wind, playing with it is key: throwing against the wind can give a glider more lift, and with the wind, more speed.
Grip matters more than arm strength. Hold the fuselage between thumb and index finger, about one-third back from the nose. If you grip too close to the tail, the plane rotates early. If you grip too close to the nose, it dives. That one-third point is where the center of gravity sits, and that is where your fingers belong.
Release angle: 10 to 20 degrees above horizontal for a glider, nearly flat for a dart. Release speed: smooth acceleration, not a snap. A jerky release adds rotation, and rotation kills distance. I have measured this with slow-motion video, and the difference between a smooth throw and a snappy throw is easily 3 to 5 meters.
Testing, Adjusting, and Starting Over
The real trick is not settling for the first attempt. You make one, you throw it, you watch how it falls, you adjust an elevator, you try another launch angle. Sometimes a design simply does not work with that paper, and you have to start over with a clean sheet. That is the only way that, suddenly, one of them escapes from your hands and travels across the whole room, or crosses the yard in one go, as if it truly knew where it was going.
Keep a log if you are serious. I write down paper weight, wing span, elevator setting, and throw angle for every plane that goes beyond 15 meters. After ten planes, you will see the pattern: the winners share three traits. Narrow wings, a heavy nose, and a perfectly symmetric fuselage. Everything else is noise.
And one last thing: humidity. On a rainy day, paper absorbs moisture, gains weight, and loses stiffness. Your best outdoor plane will underperform indoors on a wet day. Do not blame the design. Blame the air. Adjust by using a slightly thicker sheet or a shorter wingspan, and you will make a paper airplane fly far even when the weather is against you.