
Post actualizado el día octubre 25, 2026 by DeiviSanzPlay
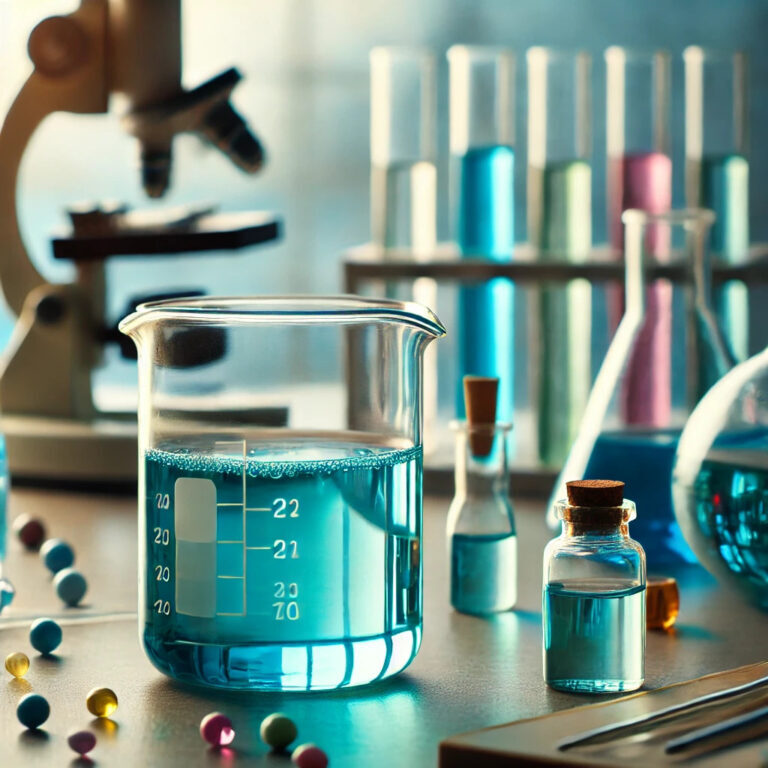
The beaker is the most basic and at the same time the most misunderstood tool in any laboratory. You see it in TV series, in high school photos, and even in molecular gastronomy videos, but few people really know what makes it different from a simple glass. I’ll tell you straight: it’s a cylindrical container with a flat bottom, a pour spout, and graduation marks on the side that are meant to guide you, not to measure precisely. And that’s the key to everything.
What exactly a beaker is and why it’s called that
The name comes from its most classic use: triggering reactions in which a precipitate appears, that is, a solid that separates from the liquid solution and falls to the bottom. That happens when you mix, for example, silver nitrate with sodium chloride and you see that white network of silver chloride forming. The beaker is designed so you can see it, stir it, and then decant the liquid without losing the solid.
It’s not a modern invention and there’s no mystery to it: it’s been in laboratories for over a century because it serves a very specific function. Its cylindrical shape with a flat base lets you rest it on the hot plate, stir it with a rod or magnetic stirrer, and pour without spilling thanks to the spout. It sounds silly, but a glass without a pour spout is a disaster in practice.
Materials: borosilicate glass versus plastic, the real battle
When we talk about beakers, the material is almost everything. Borosilicate glass (Pyrex type) is king because it withstands sudden temperature changes, resists strong acids and bases, and you can put it in the oven or on the hot plate without it cracking. Plastic (polypropylene or PTFE) is cheaper, lighter, and doesn’t break if dropped, but it has a clear thermal limit: above 120-135 °C it starts to deform.
Here’s a nuance many people overlook: not all plastics are suitable for all chemicals. Polyethylene holds up well to alcohols and dilute acids, but acetone or toluene attack it. If you’re going to work with aggressive organic solvents, glass is better. And if you work with hydrofluoric acid, don’t even think about using glass, because it dissolves it. In that case, plastic (PTFE) is mandatory.
What a beaker is really used for
Its main use is mixing, heating, and dissolving. Period. Everything else is a variation. It’s used to prepare solutions, to heat liquids to boiling, to dilute concentrates, to transfer large volumes from one place to another, and as a temporary container while you set up an experimental apparatus. It’s also the vessel where you carry out precipitation reactions, hence its name.
In more refined techniques, the beaker appears in titrations, although there its role is secondary: it holds the solution you’re going to titrate while the burette dispenses. Don’t expect precision from it in that context, because it doesn’t have any. The graduations on a beaker are approximate, with errors of up to 5-10% of the volume. To actually measure, you use graduated cylinders, pipettes, or volumetric flasks.
Another thing almost no one mentions: the beaker is also useful for water baths, for indirectly heating substances in another smaller container, and for collecting filtrates. It’s the workhorse of the laboratory, the one that’s always there even if it’s not the star.
When you should NOT use a beaker
Be clear about this: if you need accuracy, forget the beaker. It’s no good for preparing a standard solution of known concentration, nor for measuring exactly 25.0 mL, nor for serious quantitative analysis. That’s what volumetric flasks and pipettes are for. It’s also not suitable for heating over a direct flame for a long time without a wire gauze, because the bottom can crack from thermal shock.
And another typical mistake: using it as a long-term storage container. The beaker doesn’t seal hermetically, so the liquid evaporates, gets contaminated with dust, or absorbs moisture from the air. For storing reagents, there are bottles with ground-glass or screw caps. The beaker is for the moment, not for the archive.
Types of beakers you’ll come across
There are several shapes and each one has its logic. The most common are:
- Low-form beaker: wider than it is tall, ideal for heating and evaporating because it has more surface area.
- Tall-form beaker (Berzelius): narrower, perfect for mixing and stirring without splashing.
- Beaker with spout: the standard, with a pour spout to prevent spills.
- Beaker without spout: for setups where you don’t need to pour, such as in baths or cuvettes.
- Plastic beaker: disposable or reusable, for chemicals that attack glass.
Sizes range from 5 mL up to 5 liters or more. In a teaching laboratory, the usual set is 50, 100, 250, 400, and 600 mL. If you buy one, prioritize the 250 mL: it’s by far the most used.
Precautions and maintenance that make a difference
A poorly cared-for beaker lasts less than you think. Don’t put it hot into cold water, don’t bang it against the bench to loosen solids, and don’t scrub it with a metal scouring pad if it’s glass, because it scratches the surface and then it breaks right there. To clean precipitate residues, a bath of dilute nitric acid or a sodium hydroxide solution is usually enough.
If you work with heating, always use a wire gauze or a hot plate with stirring. And if the beaker has a crack, even a small one, throw it away. It’s not worth risking it breaking with a hot reagent inside. In laboratories with quality regulations, beakers are inspected before each use and discarded at the first sign of fatigue.
In the end, the beaker is what it is: a versatile, durable, and cheap container that doesn’t pretend to be precise. If you understand it that way, you’ll stop asking it to do the impossible and use it for what it really excels at: mixing, heating, and precipitating. Everything else, with the right instrument.